1959 Tweed Bassman – Part II
Part 2, Assembly:
The chassis is finished off in chrome and for an added bit of protection I cleaned and polished the chassis with automotive chrome cleaner. 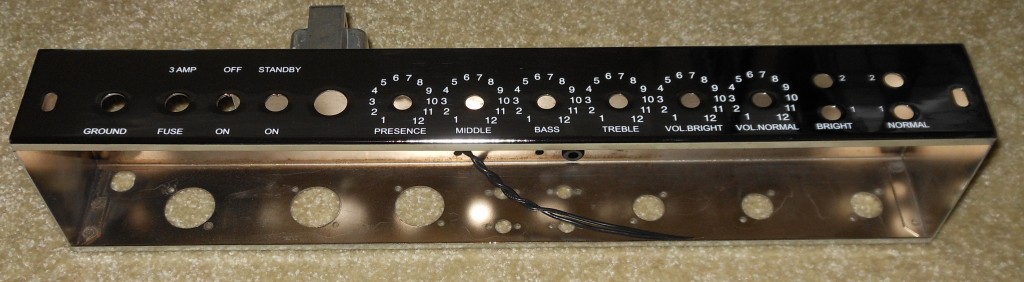 Start by mounting all the hardware pieces to the chassis. The three transformers, pots, jacks, switches, fuse holder and tube sockets.
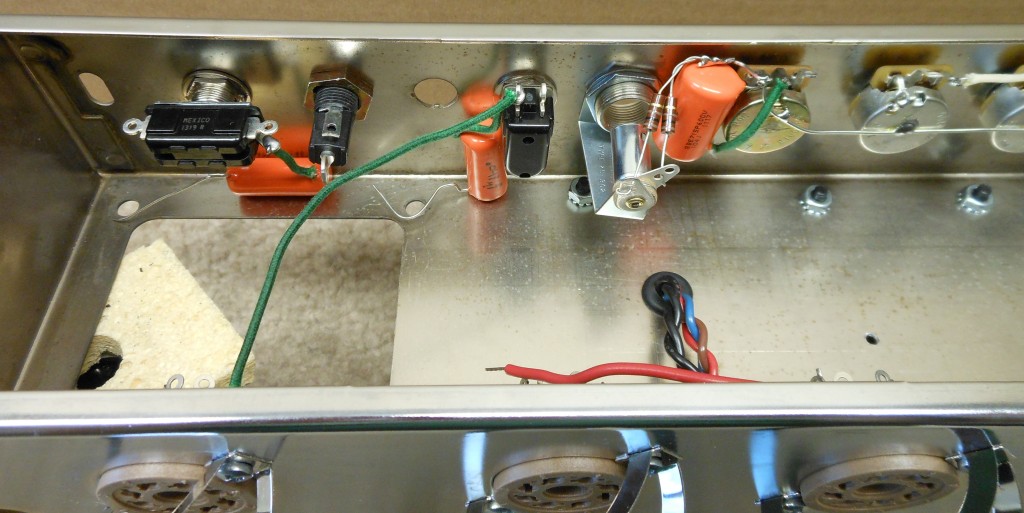
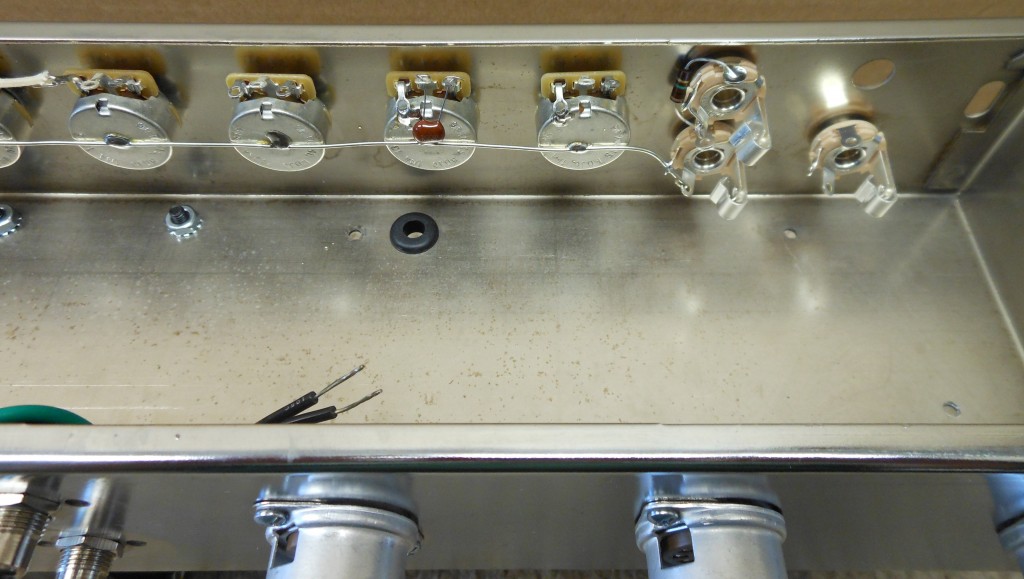
Start with the transformers, wires should be twisted for minimal hum noise. Next, install the potentiometers in their proper location. TIP! Use a nut driver to tighten the nuts. This will prevent you from scratching the finish. Lock washer on the bottom, regular washer on top then the nut. Sizes for drivers are 1/2”, 7/16” and 11/32”. The power and standby switches only mount one way. Tighten the nut on the backside of the chassis rather than the finish nut. Position the ground switch as seen in the image. Install the tube sockets with the same orientation in each of the locations. TIP! After installing the sockets, mark the pin out on the chassis to help in wiring. The installation manual is pretty loose as to where/how things get mounted and wired. So having experience with electronics is a big plus with this kit. 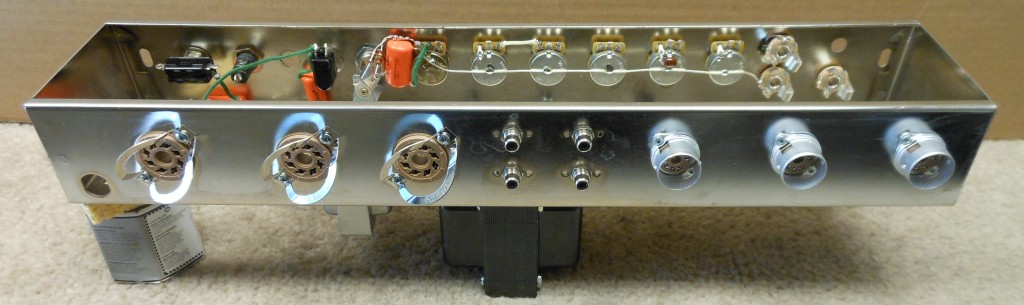 I also used images of old Tweed’s to help me with wiring.
The kit does not come with tube hold-downs. I bought some tube covers for the small tubes and Fender style clamp hold-downs for the 2 power tubes and the rectifier. One other addition I did was to use Loctite on the screws for the tube and transformers.
Stay tuned for more to come on this exciting project!