
1957 Fender Tweed Twin Clone Build

As I mentioned before, I had a fun time building the ’59 Bassman.
I could not leave it at that…
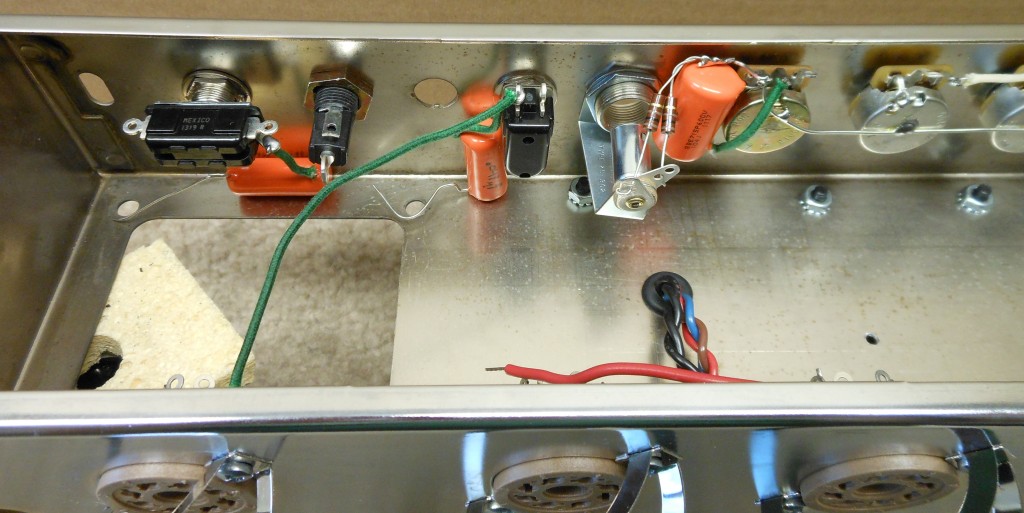
I have completed a build on a ’57 Twin combo amp. I really like the 30 -50 watt amps that use a push-pull, 6L6 output configuration. With this build I decided right away that I would use the Sozo premium caps, add an adjustable bias for the power tubes and a slight mod in the input section. The “front end” of the Twin is a bit different from the Bassman.
Each input uses ½ of 12AY7 into another 12AY before the power section. I changed ch 1’s 12AY and put in a 12DW. And put in a nice balanced gain and balanced triodes 12AX7 in the phase inverter circuit. I also used late distortion Svetlana power tubes.
Back to the ch 1 mod. So, the 12DW is an interesting tube in that ½ is a 12AU style and ½ is a 12AX style. I installed a switch so that the player can switch between the two styles of tubes to alter the gain going into the tone section. This can work extremely well with boost and distortion pedals. And left in a jumper to “jump” the ch1 signal to ch 2 and mix in a bit of “bright” sound using the standard 12AY circuit.
A side note about 12_ _ 7 tubes. The AX, AY, AU tubes have different gain structers which an amp designer can use to create how an amp will sound. The AX has a gain factor of 100 while the AU has a factor of 40. What this means is the AU will sound cleaner until it is pushed hard, and then break up. The AX style will distort faster with a different break up tone than the AU. The AY has an even different gain and current factor. Pretty neat stuff.
Anyhow to wind up the build I used Eminence Cannabis Rex speakers to deliver a nice smooth tone across the guitars frequency range. My guitar guru Kris says, this is a great amp for blues style player and sounds incredible with a boost pedal.
Again, if you are looking for a quality Tweed style amp, contact me. I would enjoy building any style for you. Or, if you have a tweed, blonde or blackface in need of repair or upgrading. Let me know.
THIS AMP IS FOR SALE! Contact me if you are interested.
 . 3rd . Coast . Engineering .
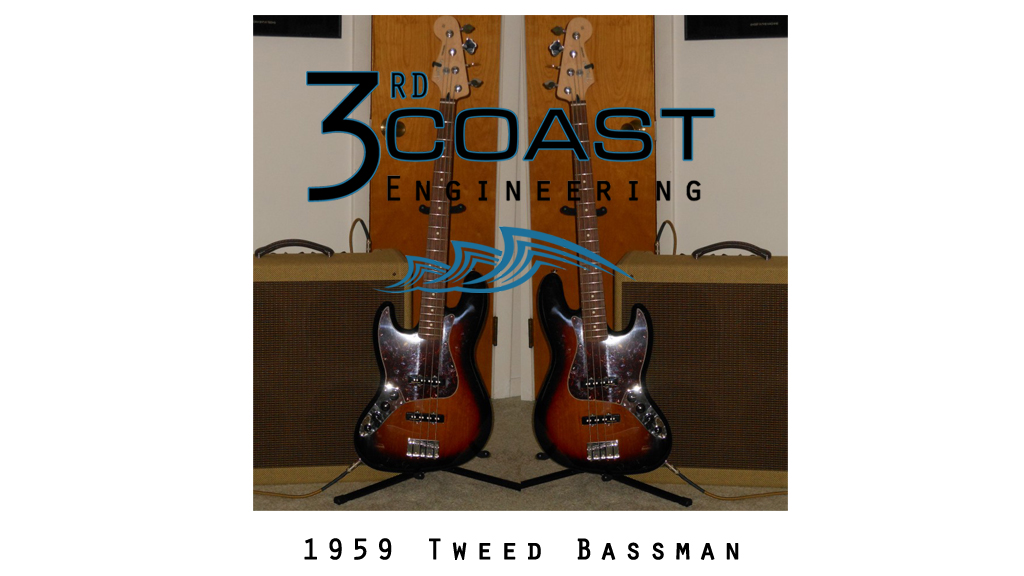
1959 Tweed Bassman – Part VI
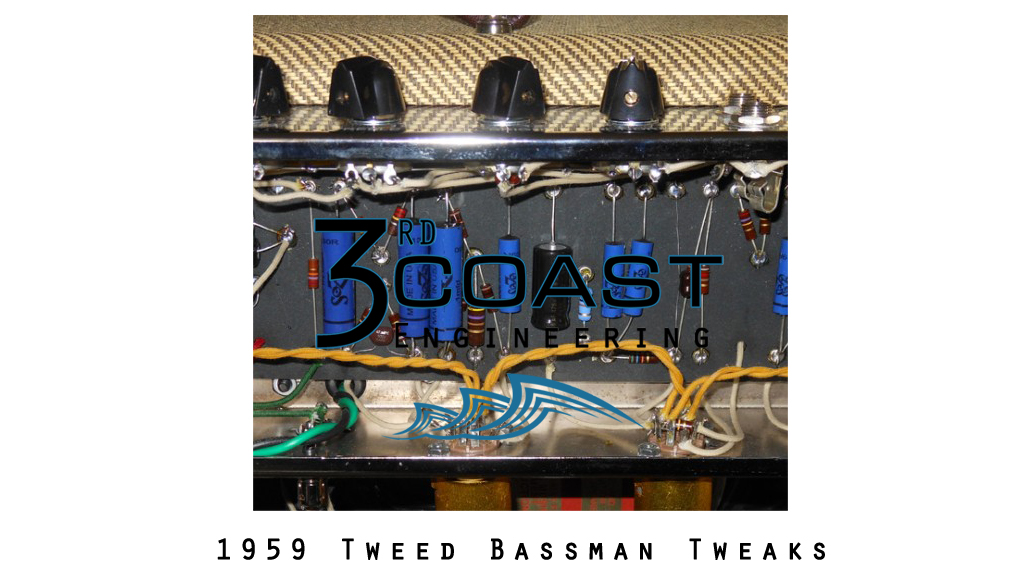
Part 6, Tweaks
Well peeps, I finally had some extra time to finish some more tweeks on the ’59 Bassman clone.
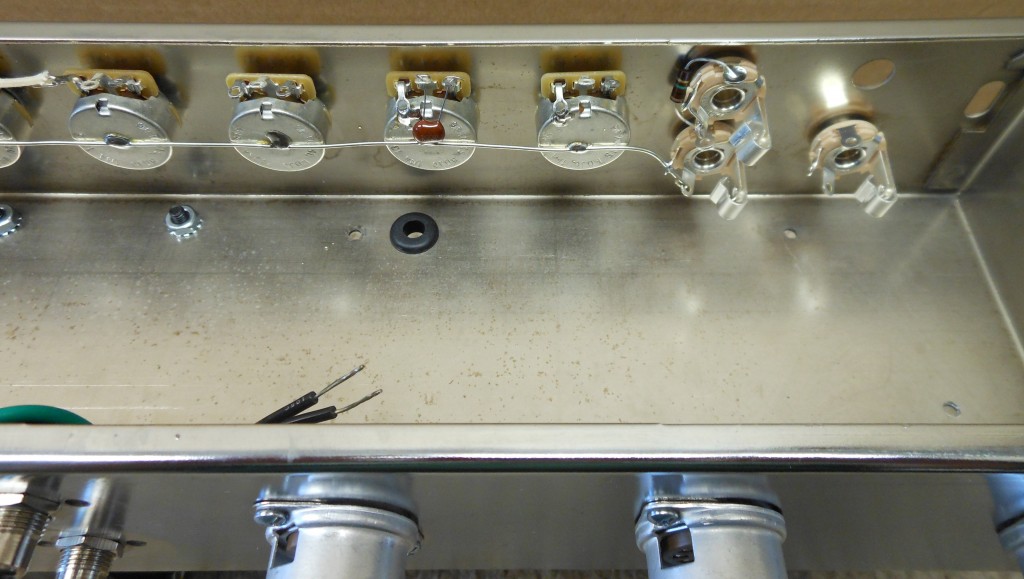
First up I replaced the “orange drop” signal capacitors with SoZo units. These are closely modeled after the Yellow Astron and Blue Molded series of vintage capacitors. Listening before and after the SoZo units was quite revealing. The sound, after putting in the SoZo units became higher in fidelity. The high-end was nicer, more articulate. The bottom-end was tighter and a bit more beefier. Amazing!
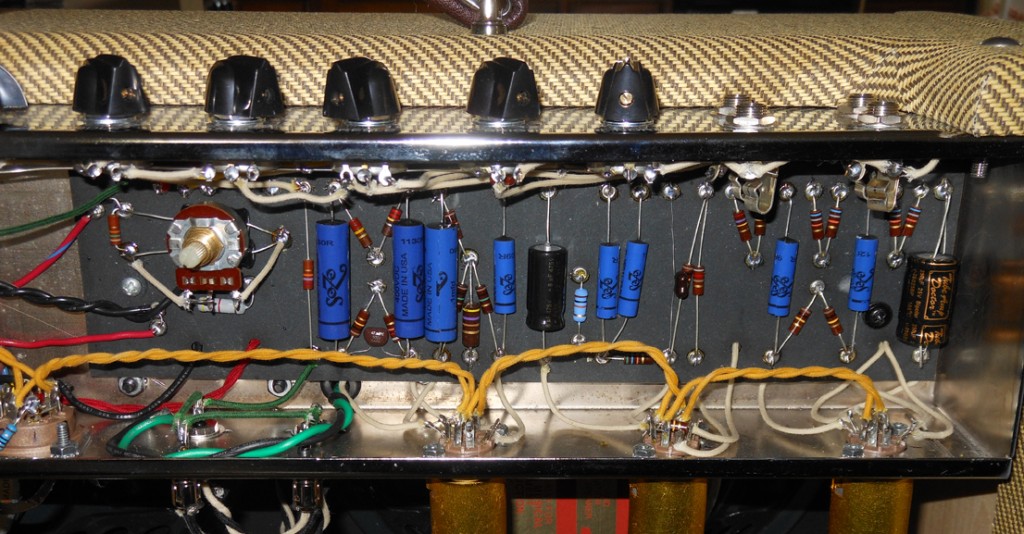
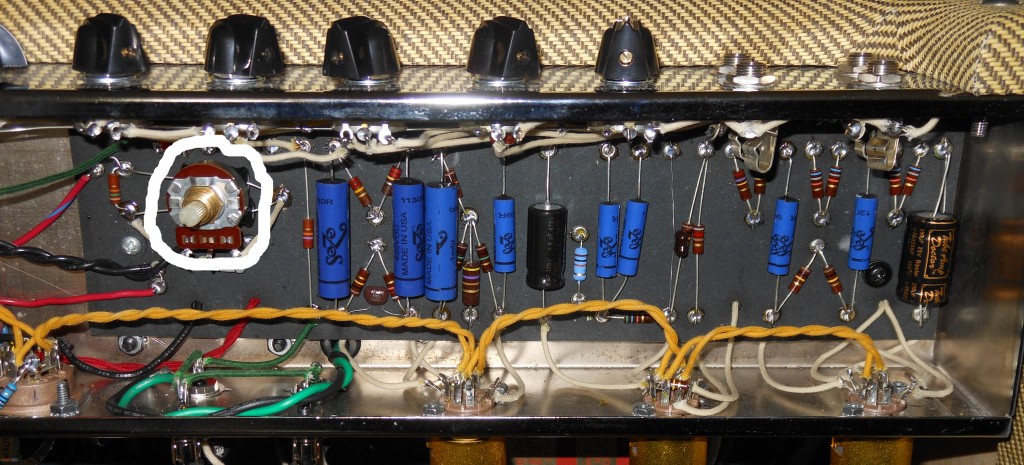
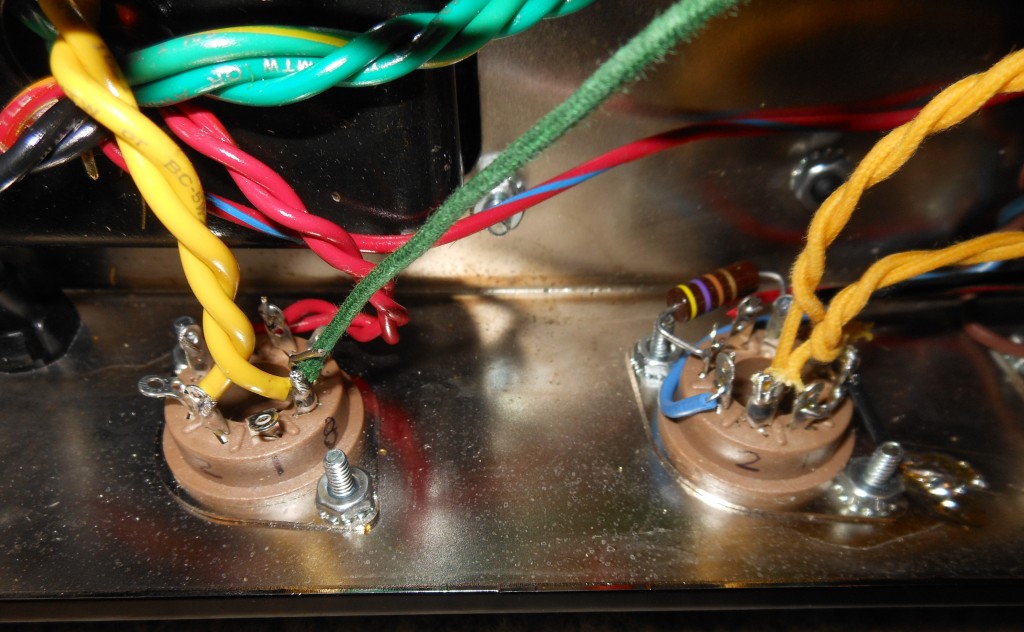
Next up, I modified the bias circuit making it adjustable. I removed the 56k resistor and replaced it with a 50k linear potentiometer wired as a rheostat. I also replaced the ground wire from pin 8 to chassis with a 1 ohm resistor to ground. This will assist you in taking readings with a voltmeter to bias the power tubes. Once you have an adjustable bias control you can really dial in your sound. I started out low in bias voltage and ended up higher than what Fender traditionally has it set at.
At about 18 static dissipation watts per tube, the sound really opened up. The player can no be very expressive in their playing. Using a lite touch sounds nice and clean while a more aggressive touch makes the amp break up just wonderfully. Find out what your output tubes can handle in wattage. The 5881’s max out at 24.

. 3rd . Coast . Engineering .
1959 Tweed Bassman – Part V
Part 5, Assembly of chassis and speakers into cabinet and final listen:
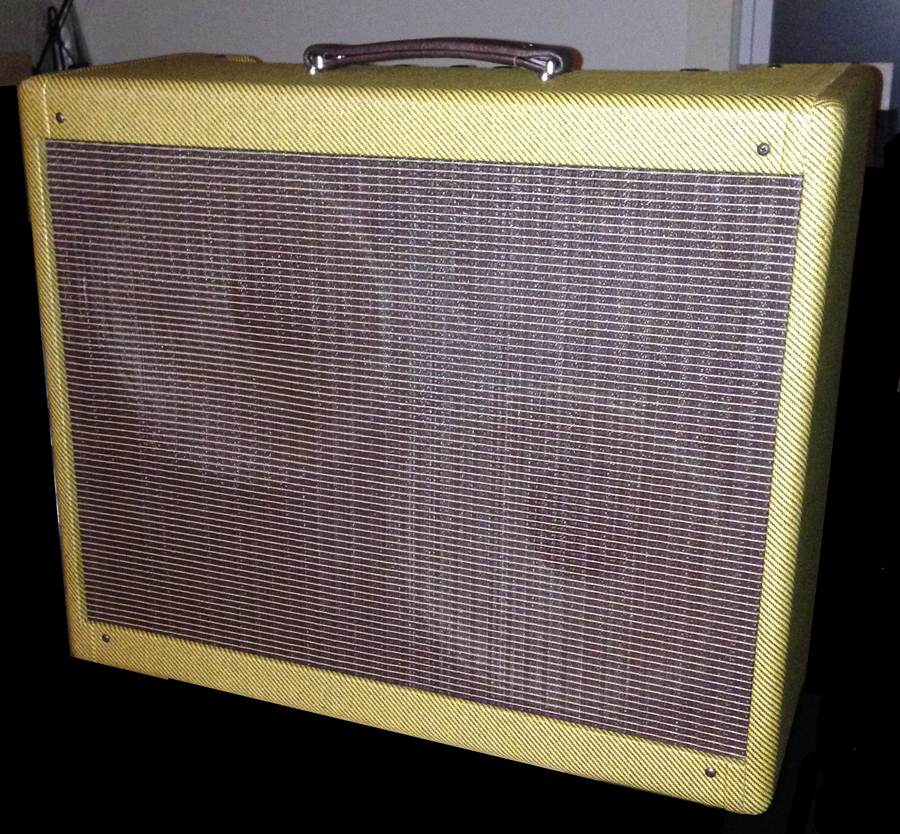
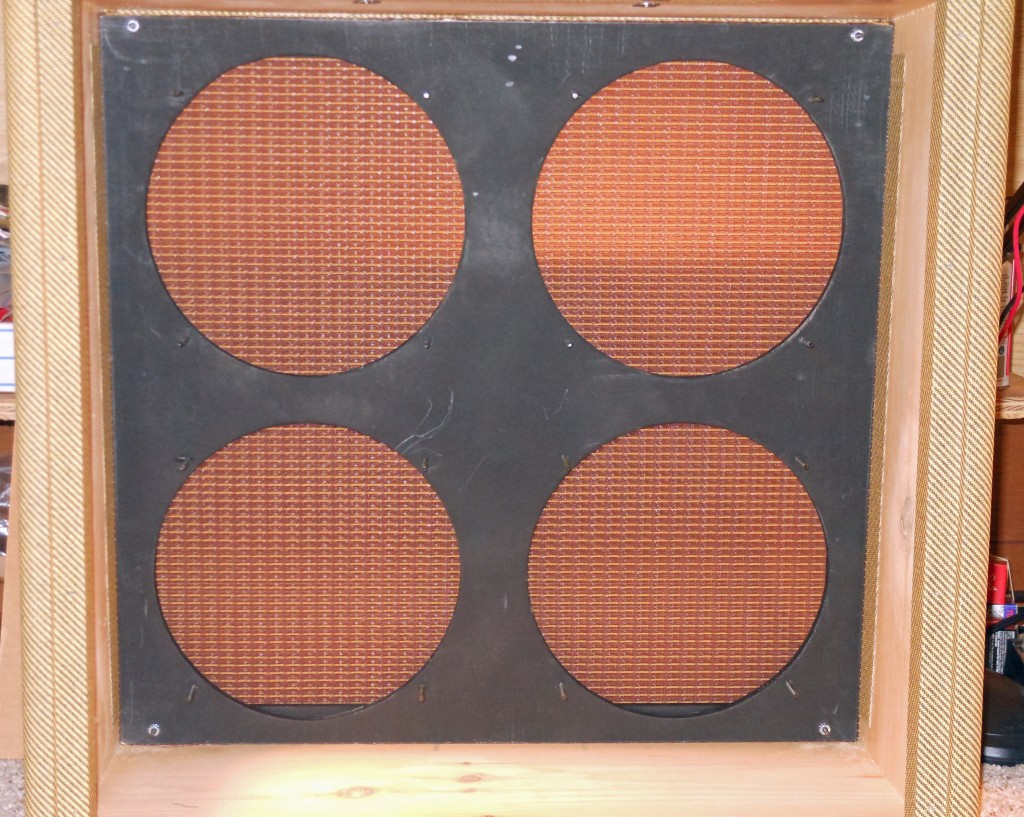
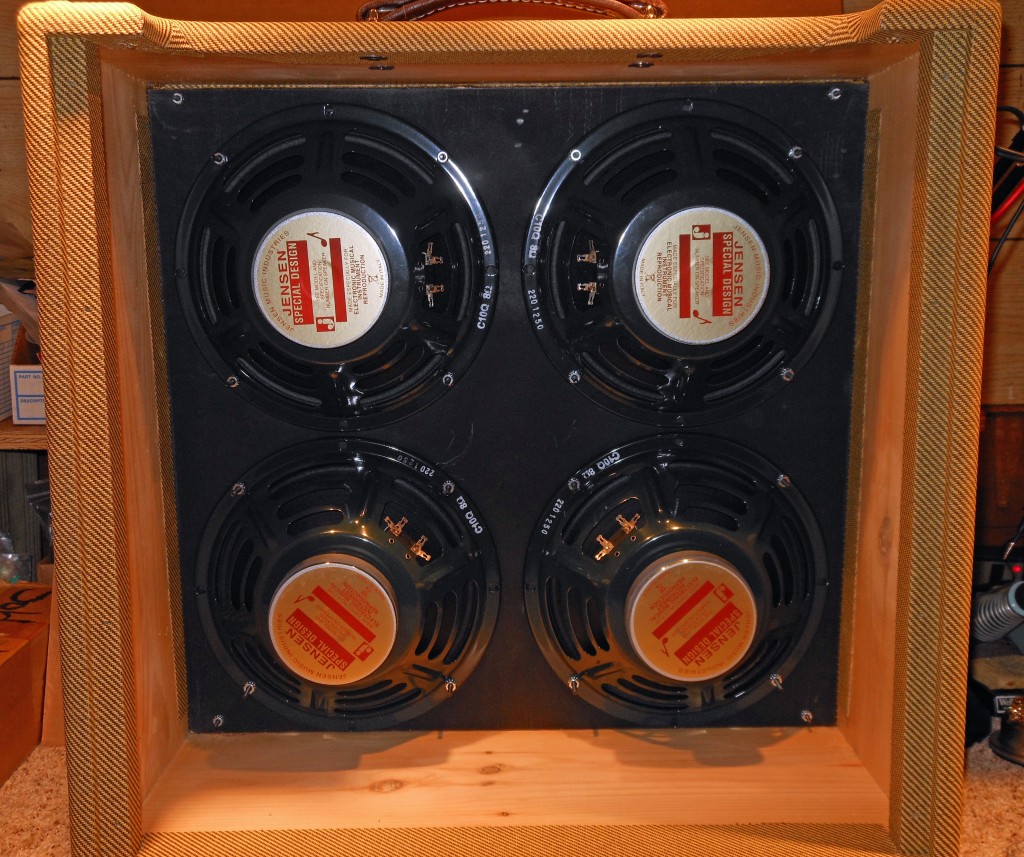
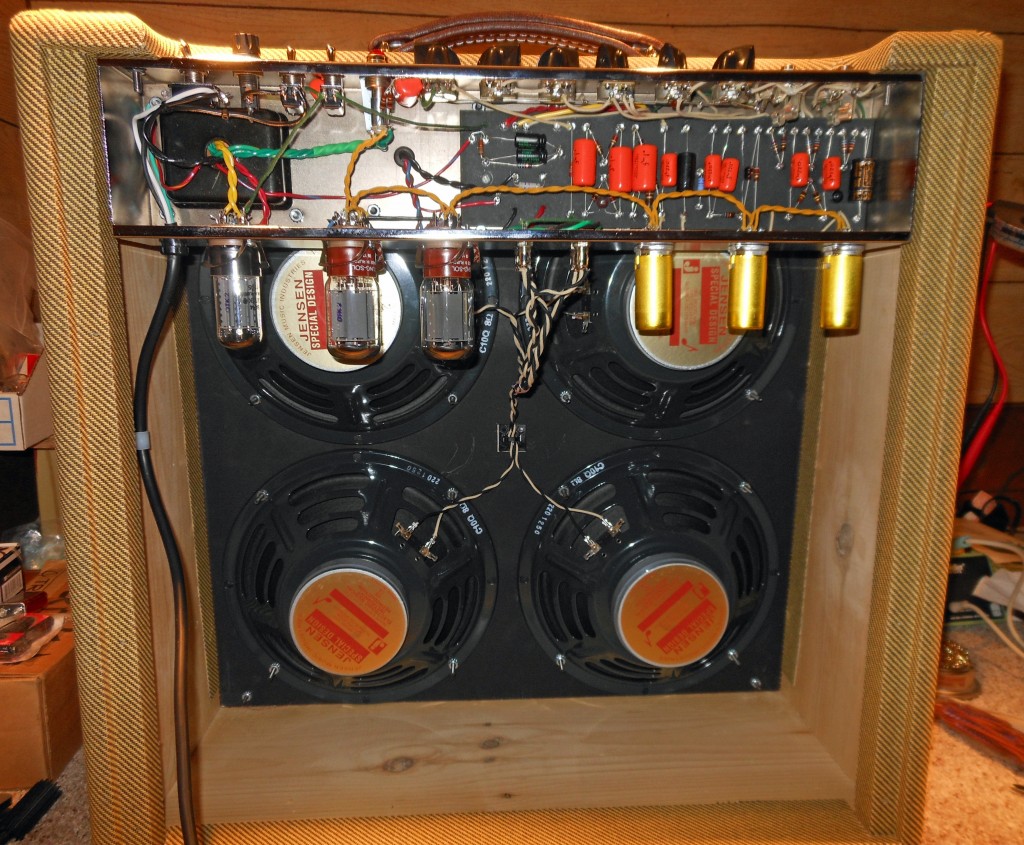
If you use the MojoTone kit w/cab you will need to have them drill the mounting holes in the 4-10 cabinet to install the chassis. Minor additional charge. Install the 4) 10” Jensen speakers so that the speaker terminals are towards the center of the cab. This will help in wiring and servicing. When installing the chassis turn the cabinet on its side for easier line up of the chassis mounting holes.
There is a time element for the speakers to break-in and loosen up a bit. About 40 hrs. But still, this 4-10 cabinet sounds GREAT! Guitar or bass, this is tone HEAVEN!
If you have found this blog fun and interesting let me know. I had a lot of fun doing it. If you know any guitarists looking for an amp like this I am open to building one out for them.
The previous posts have been opinions from Jacques Sewrey re: the building of a ’59 Fender Bassman clone kit.
Coming up in future blogs will be the modding of and minor circuit changes of the aforementioned Bassman. This will improve the tone options and make biasing for the power tubes easier.
. 3rd . Coast . Engineering .
1959 Tweed Bassman – Part IV
Part 4, Final Assembly and testing of the chassis:
NOTE: The ground switch is not connected. Due to the current power grounding schemes in the US, the Ground switch does not do anything to help in getting rid of hum. You will notice that I used one of the ground switch terminals as a connection point only. The proper way to hook up the power input to the Power Transformer is by connecting the white wire to one of the black PT input wires and the black wire (coming in) going thru the fuse and the Power switch before connecting to the other black PT wire. 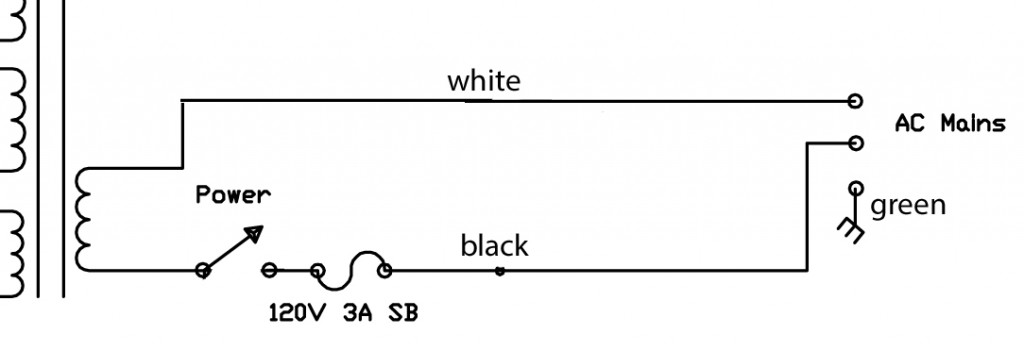
Tip: For minimum hum, keep all wires as short as possible. 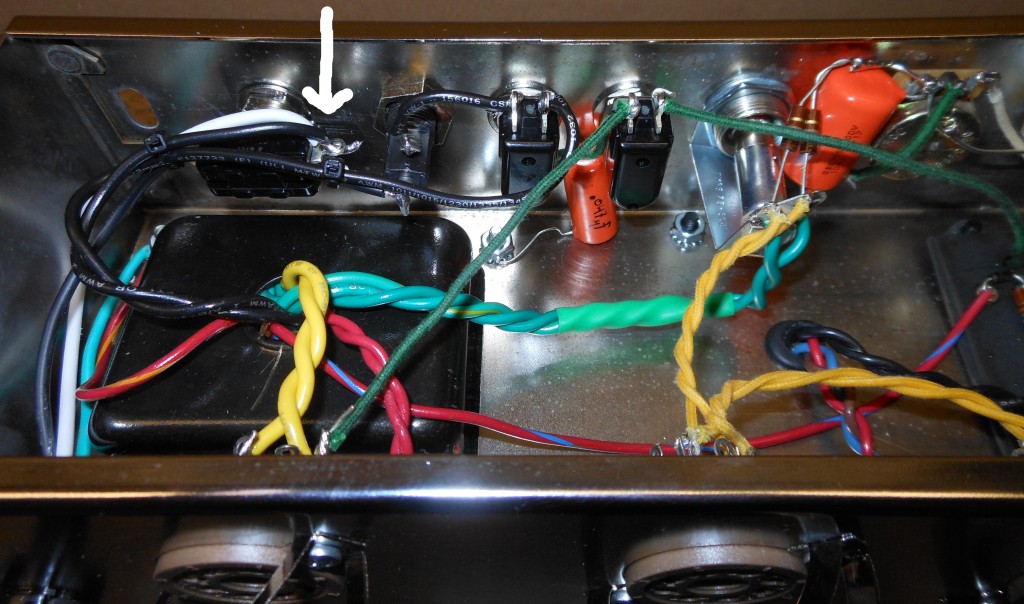
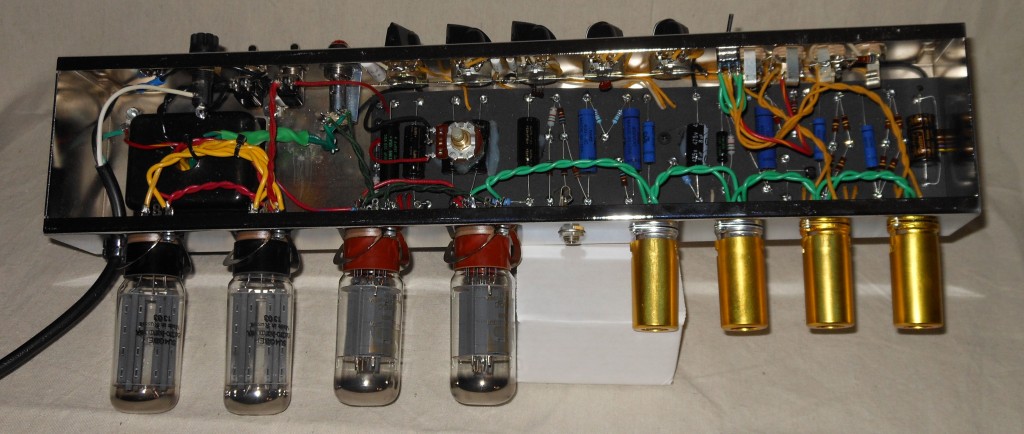
Now, a discussion of tubes is in order. Currently there are less than 6 manufactures of audio tubes in the world. Czechoslovakia, China and the former Soviet Union. I prefer the Russian tubes. MojoTone uses JJ tubes in their kits. While these are pretty good, I have my own ideas on tubes. I picked the Sovtek 5AR4 rectifier based on past experience with Sovtek and reviews of great extension and tightness on the bottom end. NOS (new old stock) tubes can provide better handling of the rectification but I feel that the cost is too much for what you get. For power tubes I decided on 5881’s vs 6L6’s. In general 6L6’s have a bit more gain but I’m going for tone. So, 5881’s by the newly reissued TungSol version built by the Russians. The preamp tubes get more interesting as there are a lot more choices and which ones you put in what stage. As you peruse the internet you will find hundreds of opinions on all sorts of combinations. For V1 I am staying with the 12AY for better tone. I have picked the EH (Electro Harmonix) from “Doug’s Tubes”. No reason for balancing or matching the triode’s as ½ the tube is for the normal channel and the other ½ is for the bright channel. Who cares, its 2 different inputs. Viva la difference. V2 goes before the tone circuit, the first ½ increases the voltage and the second ½ matches the impedance for the tone circuit. Here I chose a NOS 12AX by GE, this is where you want to use a great sounding tube. (Does not need to have matched gain or balanced triode’s). Next up is V3, the phase inverter. This tube creates the plus and minus waveforms for each of the 5881’s. Some also call this the “driver”. This is where you want to use a high quality tube and get it with balanced triode’s and matched gain. I used a reissued 12AX TungSol from Doug’s Tubes.
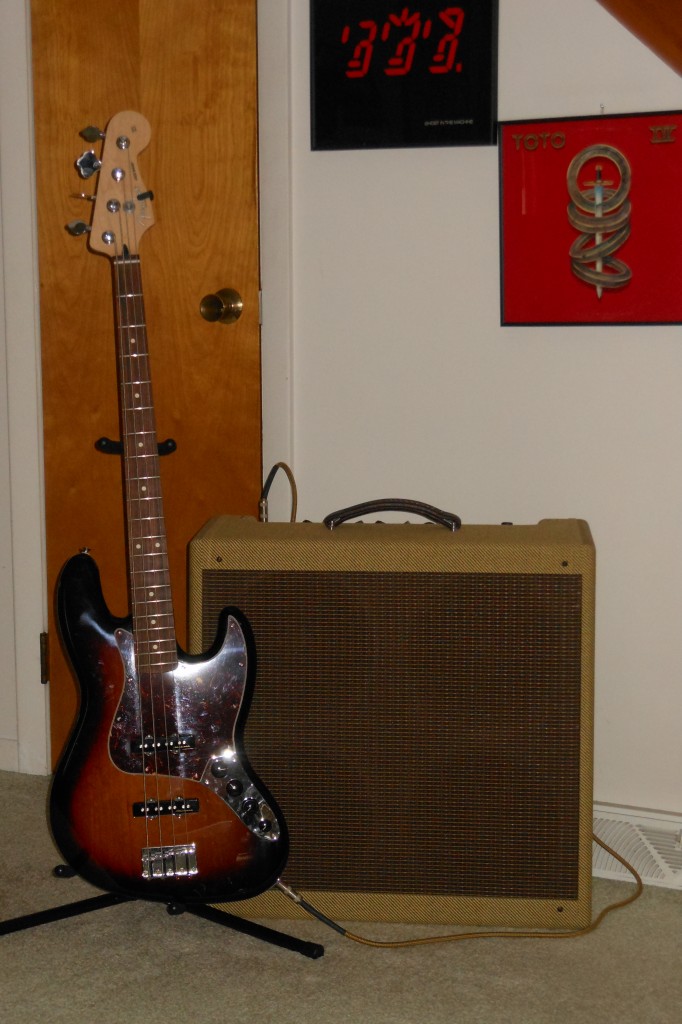
So, fired it up sans tubes, took some voltage measurements and all was good. Put the tubes in and ran some sound thru it, no issues. Took the amp over to my Guitar buddy Kris and we ran it thru a 2-12 cabinet with v30 Celestion’s. Playing his custom late 2000 Strat, he was grinning ear to ear. That sounds X@X@Xing awesome he says. A few adjustments of the gain and tone controls and he’s loving it.
Where’s the 4-10 cabinet he says. That, I say, is for another day and another blog. 🙂
Stay tuned for more to come on this exciting project!
. 3rd . Coast . Engineering .
1959 Tweed Bassman – Part III
Part 3, More Assembly:
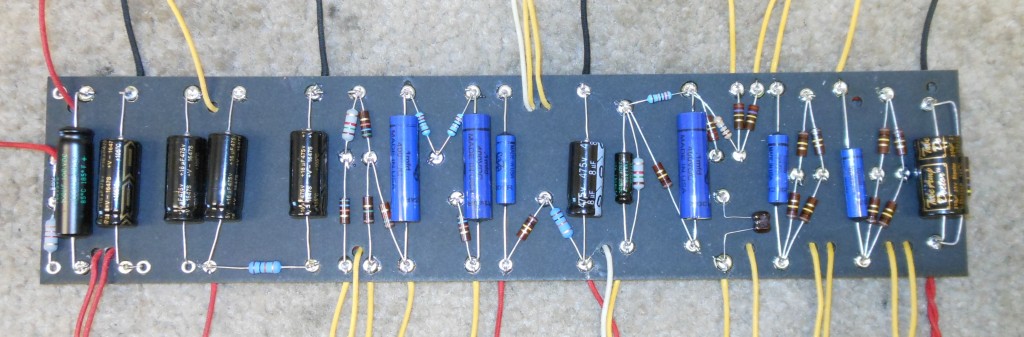
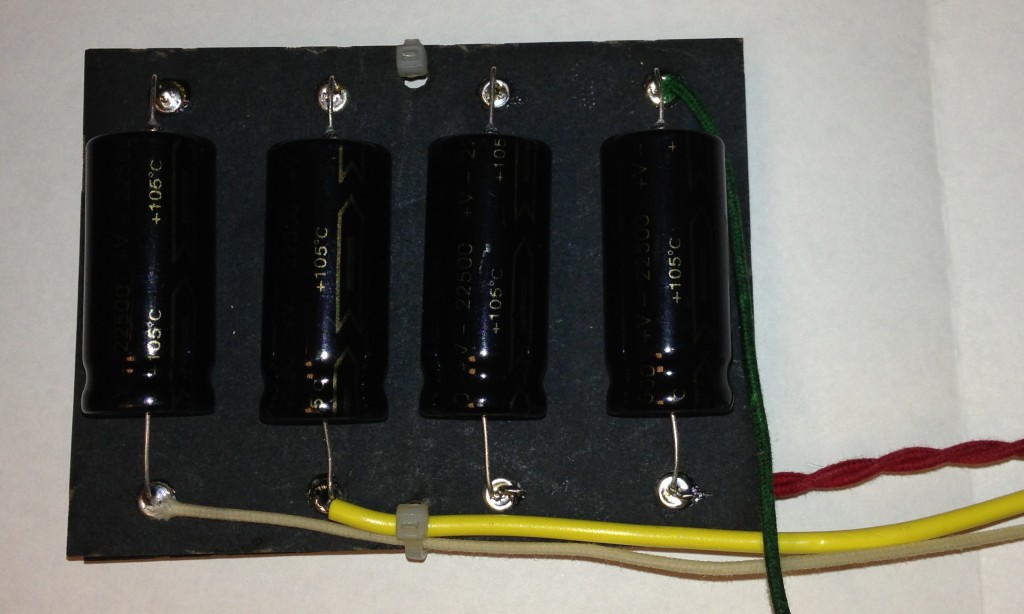
Next up is the high voltage filter capacitor board. This is a very important part, so make sure it is done correctly.
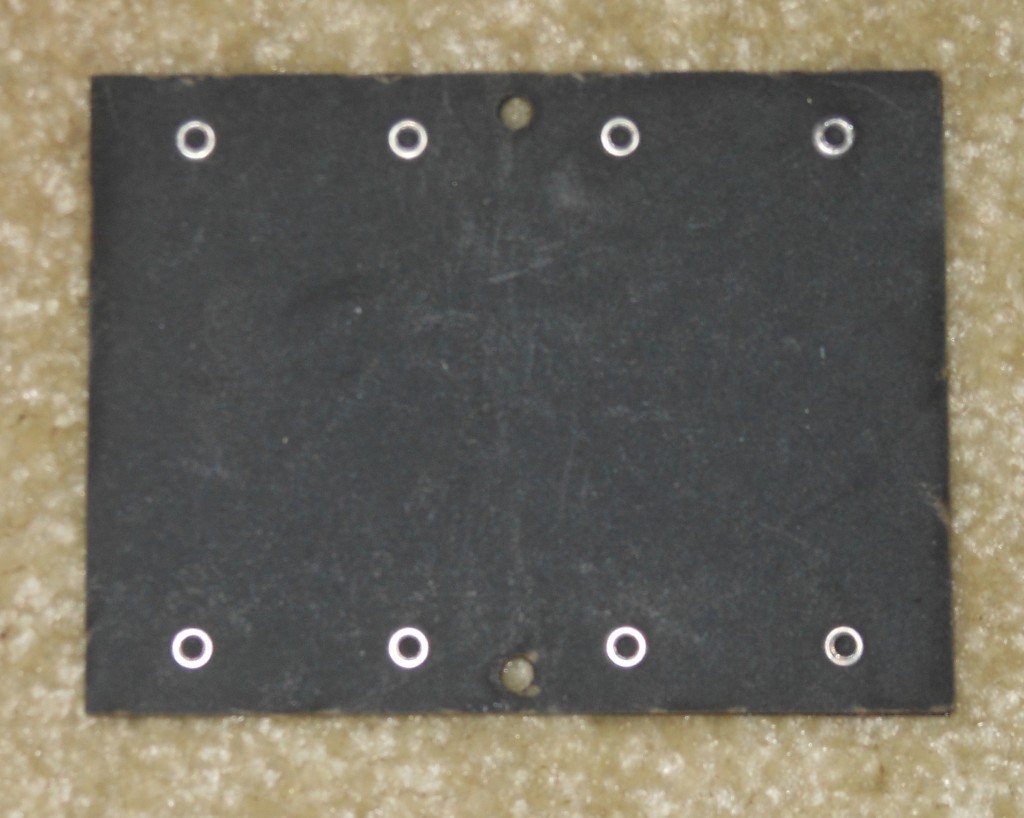 Notice position of the caps on the board and how the minus side of the caps are tied together.
When done and wired go ahead and mount with “cover” to the chassis running the wires thru the grommet into the chassis. I did add some rubber feet to the bottom of the cap board to take up space under the cover so it does not bounce around and put some sticky pads on the chassis for the caps to sit on. Mount so that the caps sit on the chassis. 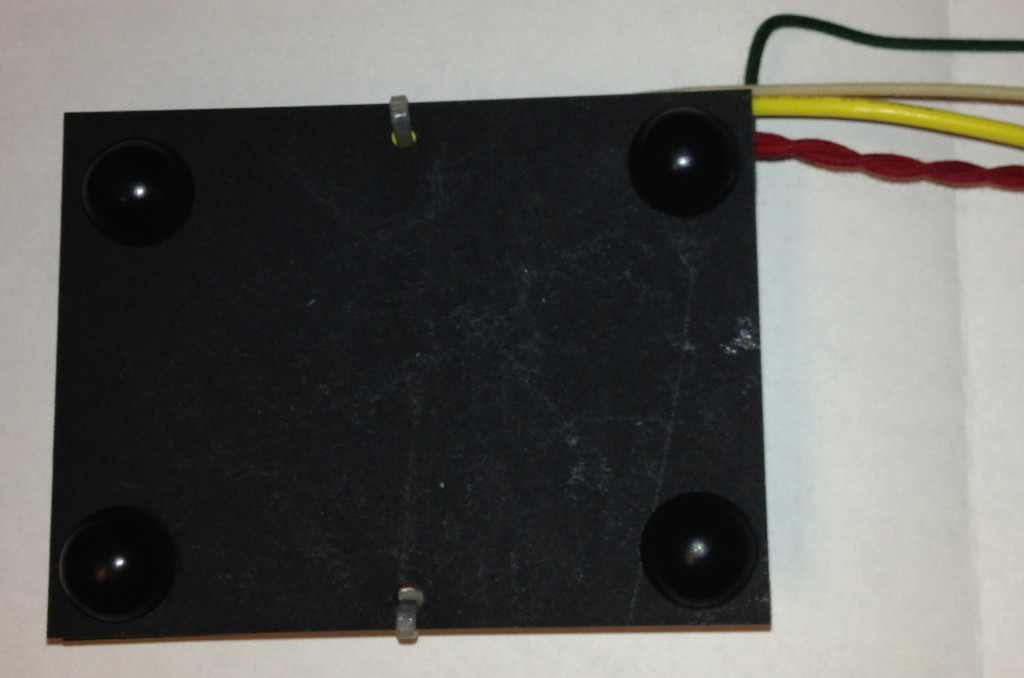
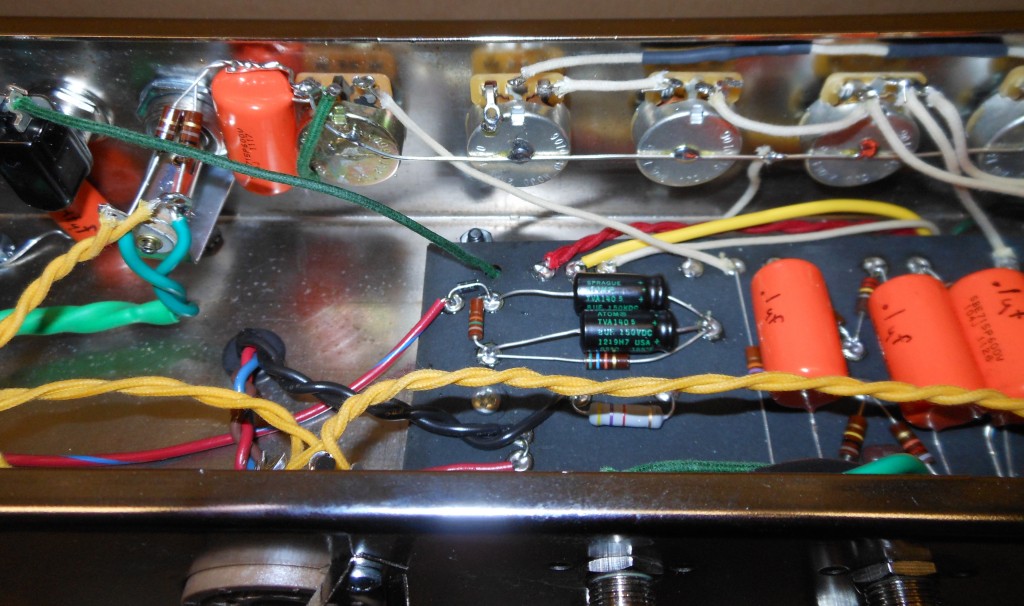
The main circuit board is pretty involved, so take your time. If you are a “righty” start on the left and work your way to the right. If a “lefty” reverse the procedure. Do the underside tie lines first before mounting components.
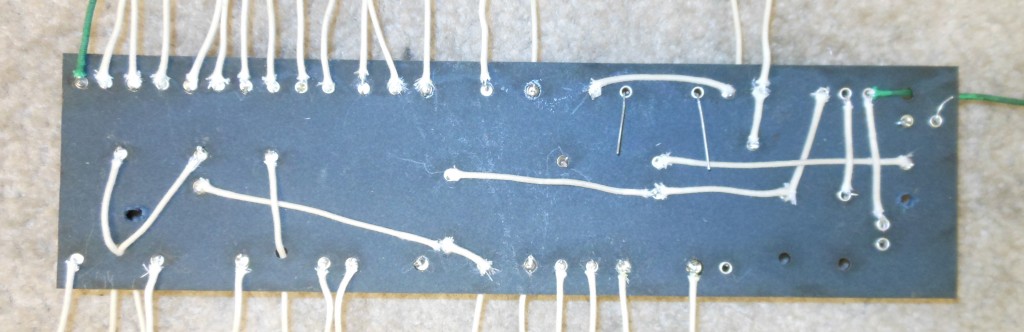 Double check you work constantly. I found myself making a few mistakes and corrected them by comparing the schematic to the wiring diagram. Pay particular attention to the 2 bias resistors (220k) and the 2 screen resistors (470). These need to match very closely in value in order to get the most out of your matched power tubes.
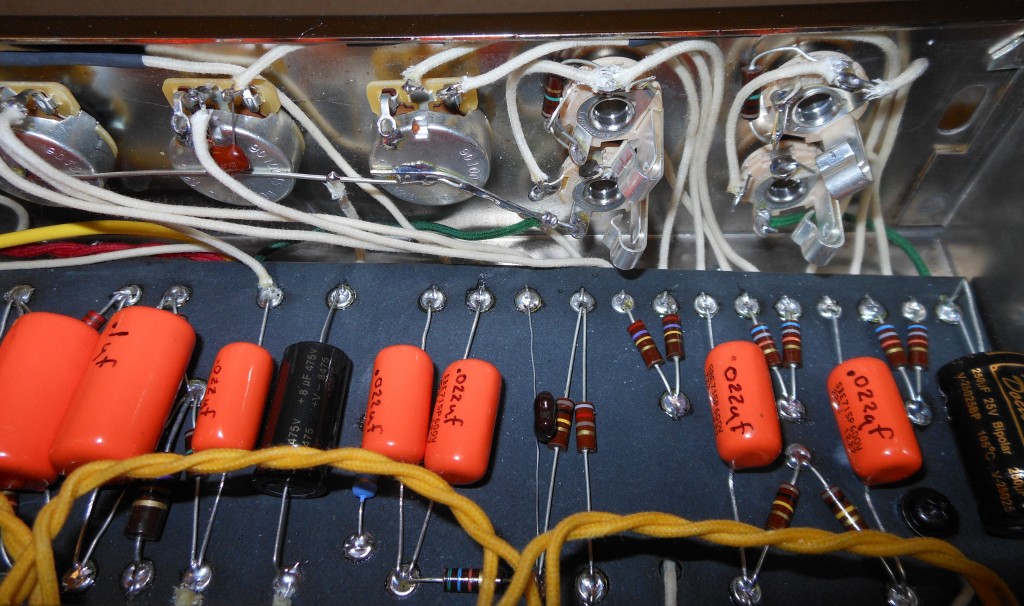
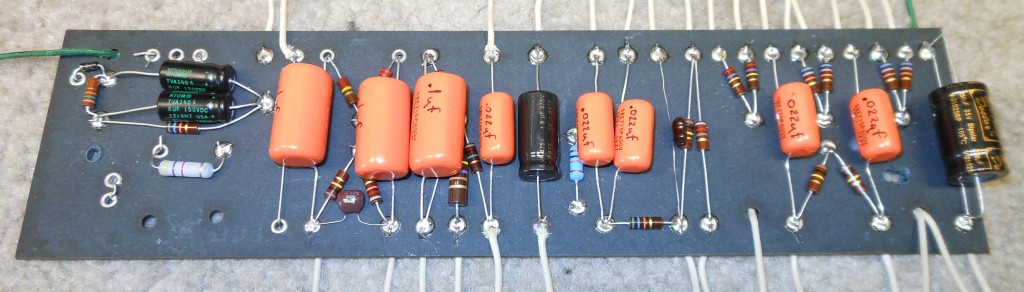 Wire all leads going from the board to the chassis components to the underside, as it will give a cleaner look. I also wrote the values of the orange drop caps on the caps to aid in servicing down the road. Dry fit the board to the chassis and drill 2 holes through both boards to mount directly to the chassis. Make sure you do not hit any wiring or components on the other side of the chassis.
Stay tuned for more to come on this exciting project!
. 3rd . Coast . Engineering .
1959 Tweed Bassman – Part II
Part 2, Assembly:
The chassis is finished off in chrome and for an added bit of protection I cleaned and polished the chassis with automotive chrome cleaner. 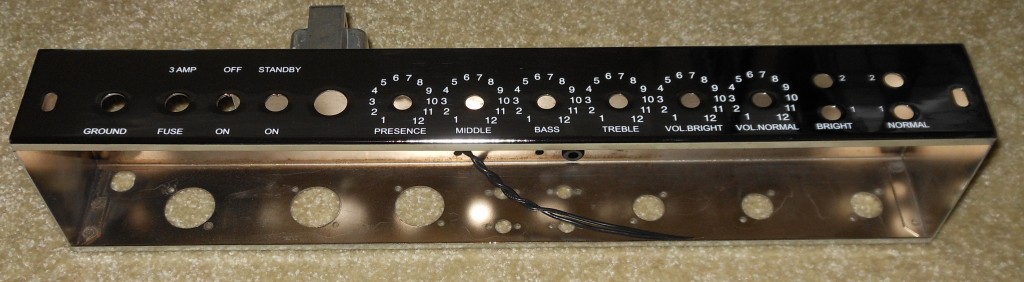 Start by mounting all the hardware pieces to the chassis. The three transformers, pots, jacks, switches, fuse holder and tube sockets.
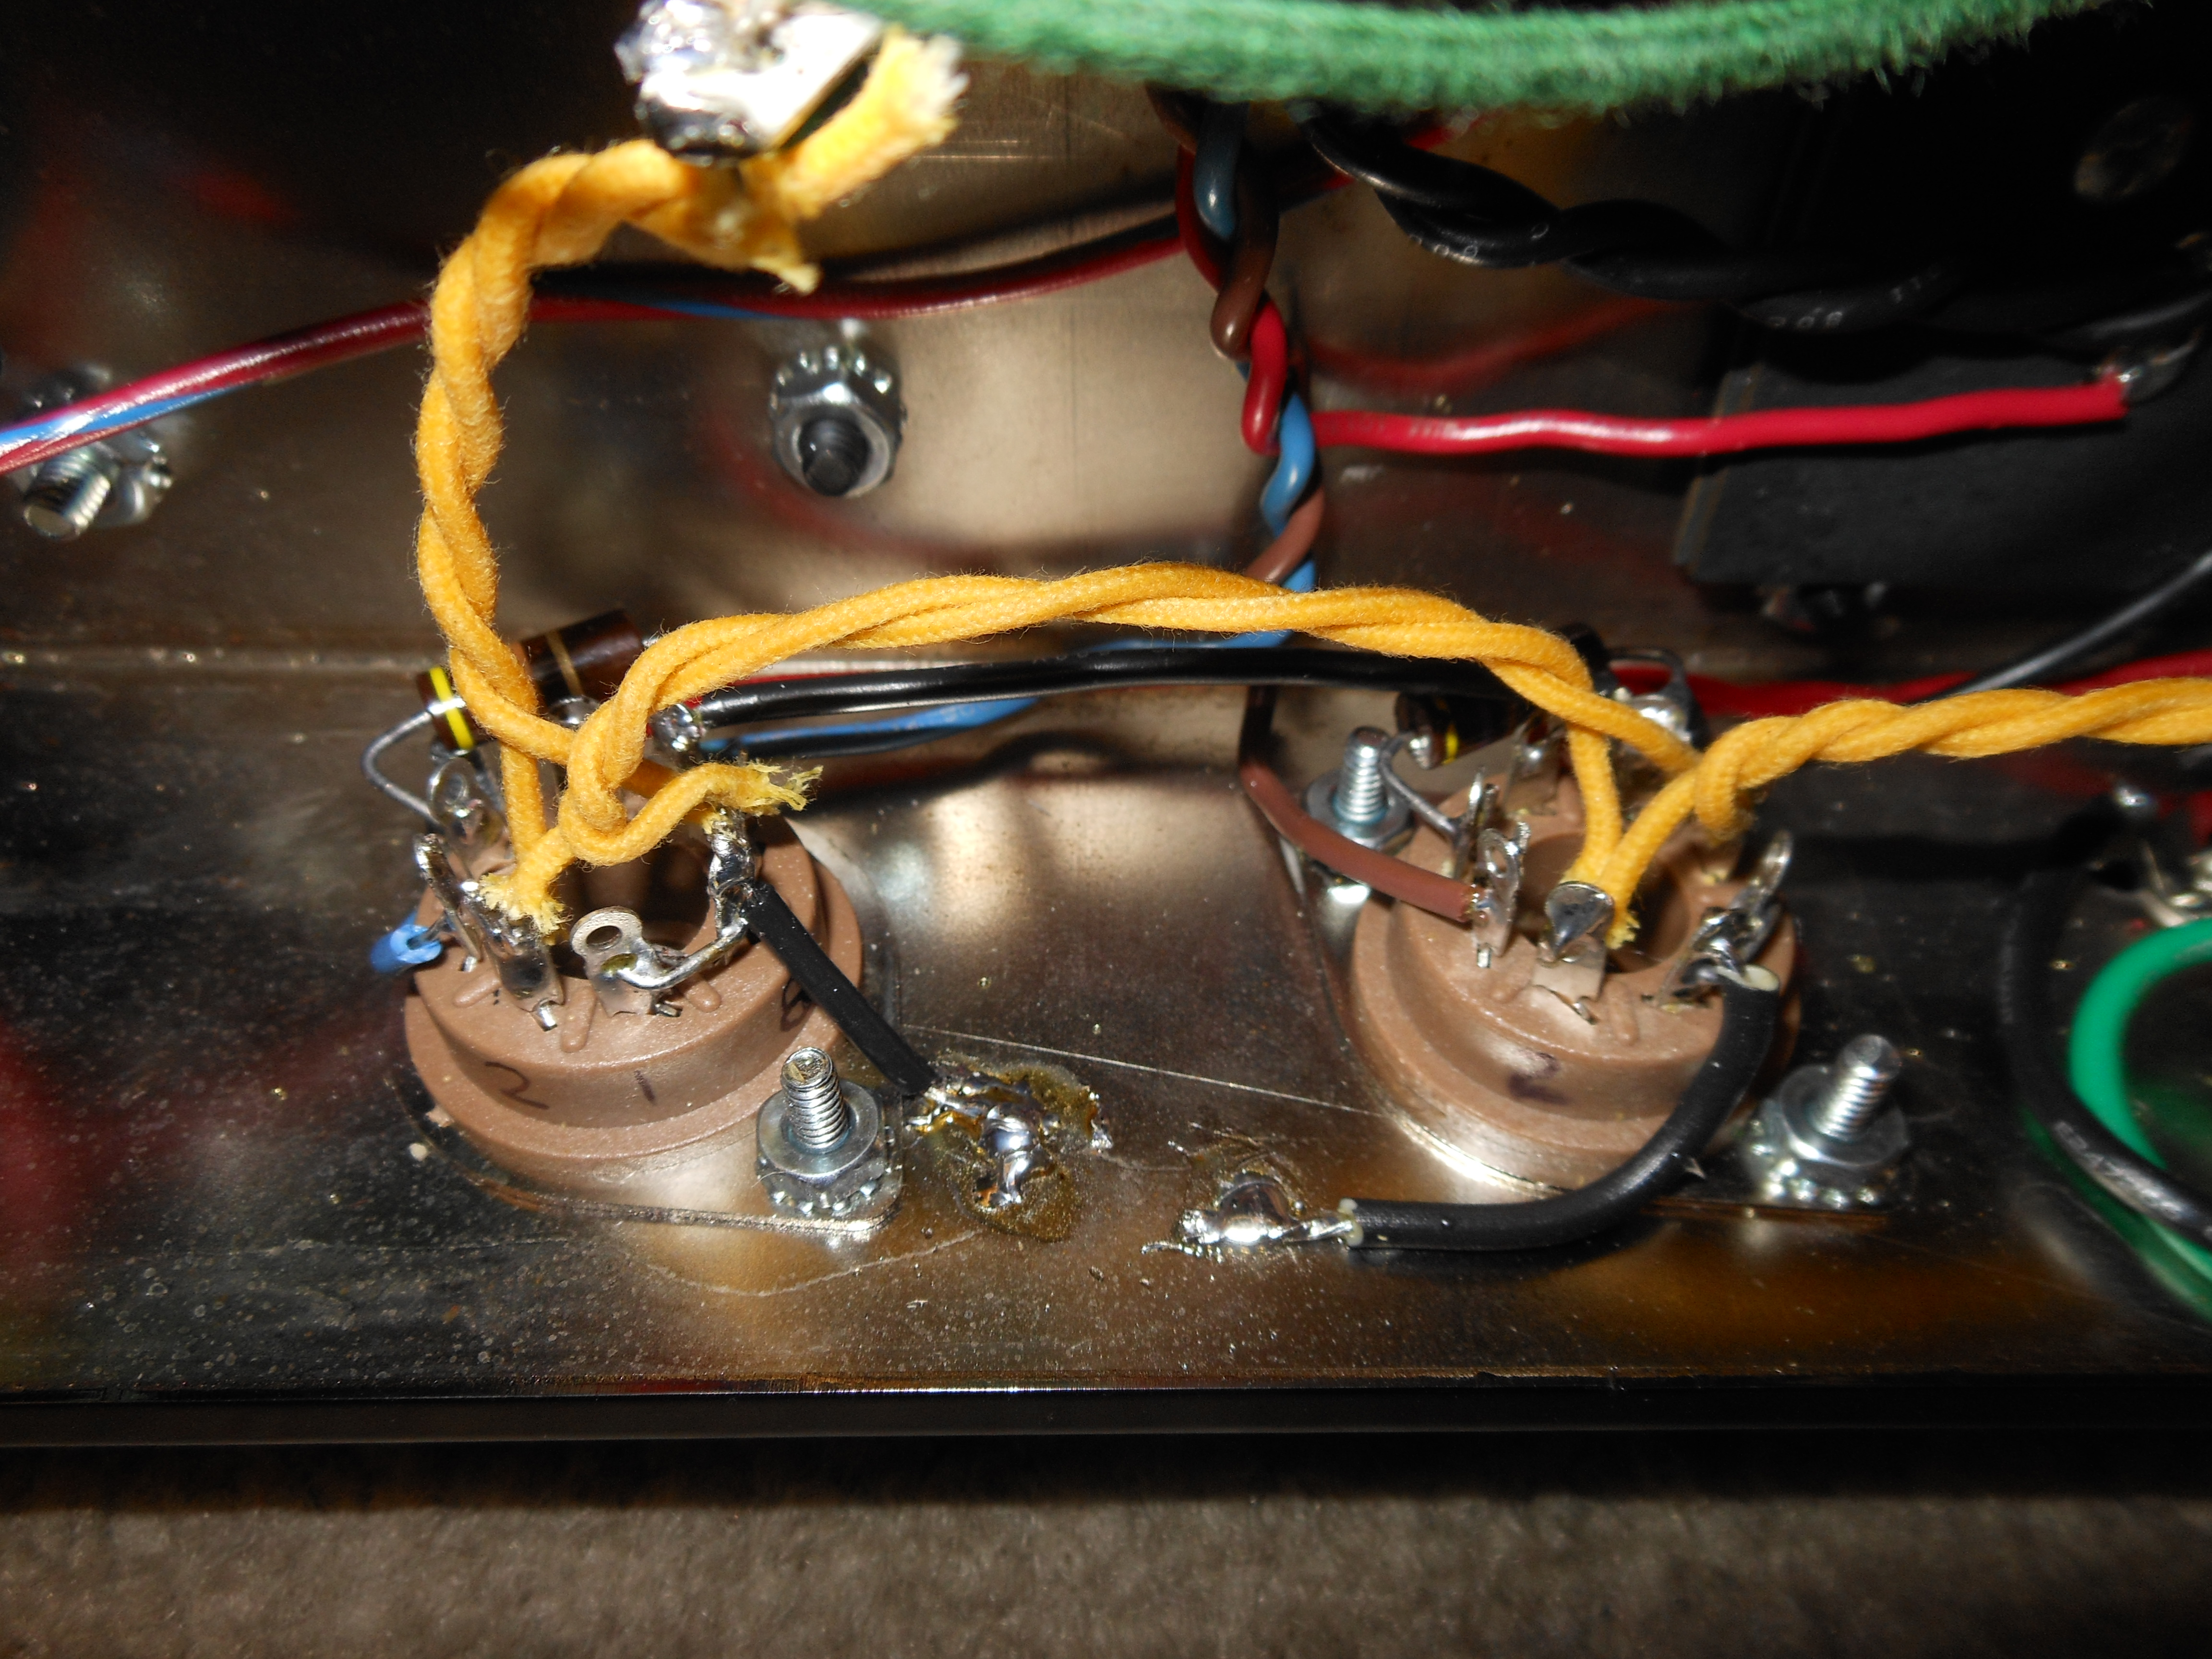
Start with the transformers, wires should be twisted for minimal hum noise. Next, install the potentiometers in their proper location. TIP! Use a nut driver to tighten the nuts. This will prevent you from scratching the finish. Lock washer on the bottom, regular washer on top then the nut. Sizes for drivers are 1/2”, 7/16” and 11/32”. The power and standby switches only mount one way. Tighten the nut on the backside of the chassis rather than the finish nut. Position the ground switch as seen in the image. Install the tube sockets with the same orientation in each of the locations. TIP! After installing the sockets, mark the pin out on the chassis to help in wiring. The installation manual is pretty loose as to where/how things get mounted and wired. So having experience with electronics is a big plus with this kit. 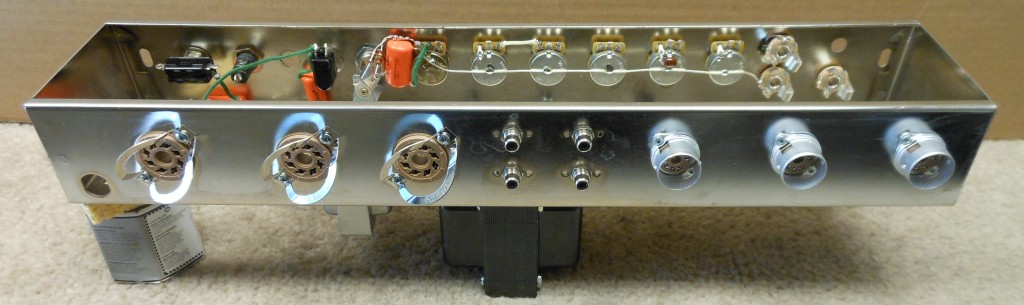 I also used images of old Tweed’s to help me with wiring.
The kit does not come with tube hold-downs. I bought some tube covers for the small tubes and Fender style clamp hold-downs for the 2 power tubes and the rectifier. One other addition I did was to use Loctite on the screws for the tube and transformers.
Stay tuned for more to come on this exciting project!
. 3rd . Coast . Engineering .
1959 Tweed Bassman – Part I
Hi boys and girls. I have a new project that I am very excited about. Ever since I have been involved in electronics I never once built an electronic kit of any sorts. Of late I have been dabbling in tube guitar amp repair/modding with my good friend Kris and discovering how great older tube Fender amps can sound. During this time I have discovered that one of the “holy grail” of amps is the 1959 Tweed Bassman.
This type of amp is currently selling in the neighborhood of $4000 so buying/trying one out is a bit prohibited. But, I have found a company that makes a kit that you can build with the same circuit and cabinet design that Fender used all those years ago. My kit has arrived and I am going to blog about the build of a 1959 Tweed Bassman with the 5F6-A circuit and my own idea of what tubes to use.
Part 1, The Kit:
The kit I am using is from MojoTone. ( http://www.mojotone.com/amp-parts/amp-kits-tweed-style/Tweed-Bassman-Style-Amplifier-Kit#.Ug2OfFPsqGo ) I decided that I would use the recommended speakers as they most closely match what would have been used in the original Bassman. I ordered the kit without tubes as I did not agree with Mojotone as to the tubes they recommended. I will elaborate on this in a later post. Suffice to say that I will be using a mixture of new and old tubes to give me the vintage sound that this amp is capable of. The kit shipped complete with the exception of the cabinet as this is made as needed. Which is quite ok as it will take me some time to build and document this project. The cab will ship in about 30 days. After receiving the kit I went through the parts and verified with the included list and found that it did not include tube covers for the pre-amp tubes or hold-downs for the power and rectifier tubes. Bummer! So, back to the internet and ordered some cool colored tube sleeves for the 3 pre-amp tubes and some Fender style clamp units for the power tubes. It was nice that all the small parts came in parts cases with a corresponding list attached to the underside of the lid. Very nice!
A side note: This kit is not recommended for people who barely know how to use a soldering iron and are not familiar with reading a schematic diagram. Tube guitar amps have very high voltages that can KILL you if you do not know what you are doing.

Stay tuned for more to come on this exciting project!